MARCH 2021
We were able to pick up our van in July 2020 and immediately started planning and building. In this blogpost you can read how we started our build and what we installed on the exterior and interior before we could get to the fun part: the furniture and decorations (which are more my thing). This blog is more about the technical aspects of the build, so I will add a little disclaimer: if I write “we” in this blog I mean “Hielke”. I was highly pregnant during most of this phase, so I didn’t play an important part in the installing except discussing options with Hielke.
The exterior
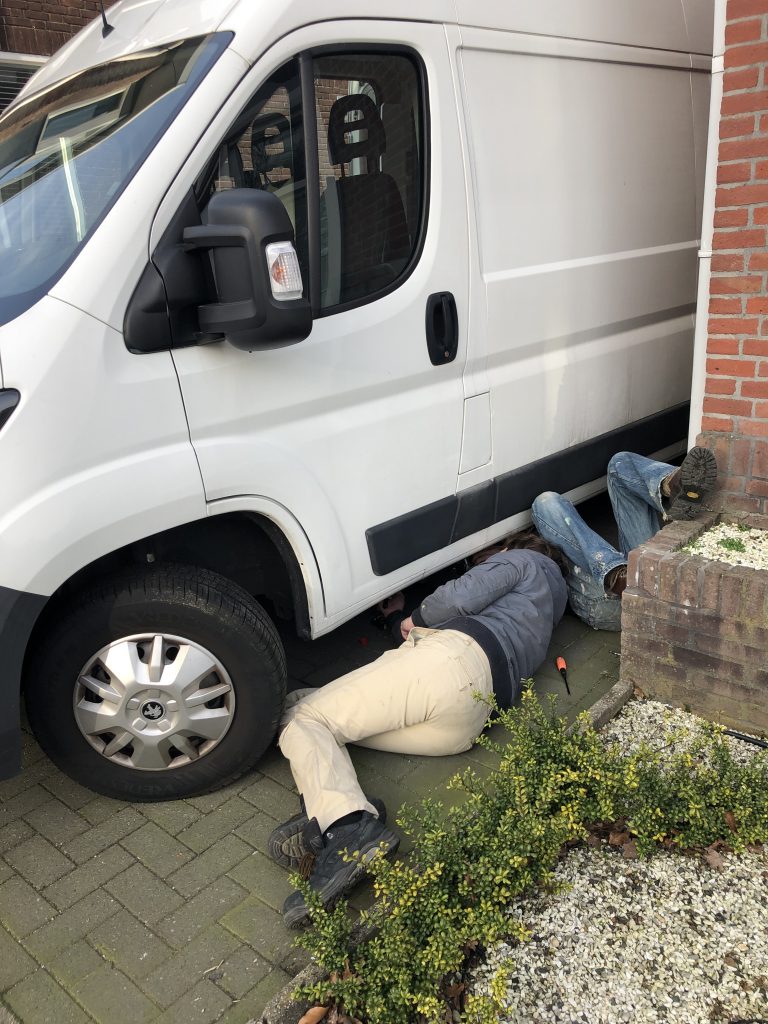
July mostly consisted of making decisions on how to convert the van and we still had some holiday plans, so Hielke officially started at the exterior in August. In this period we parked the van at Hielke’s parents place, so we would have more space to work around the van. The main things that he did in this phase were:
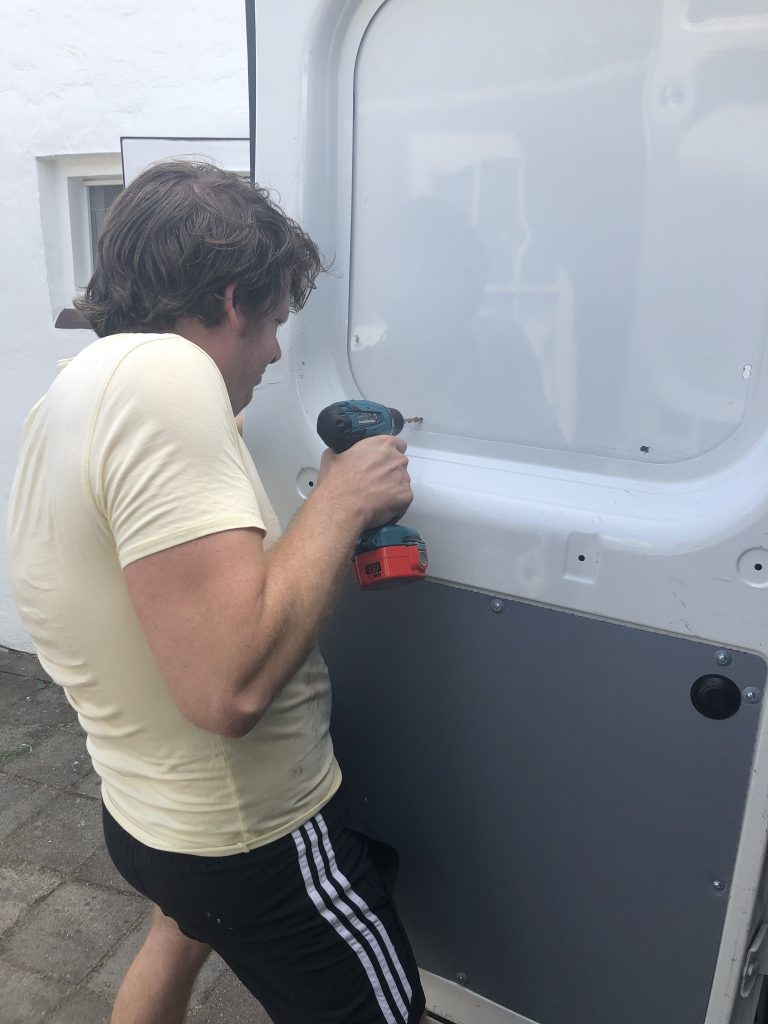
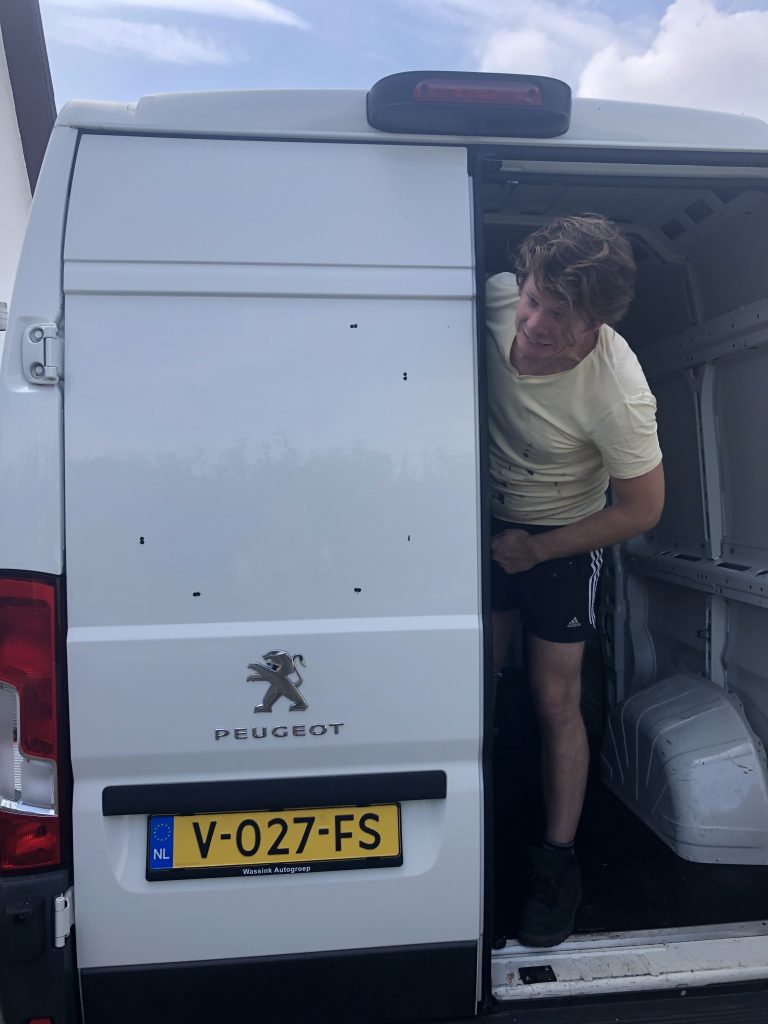
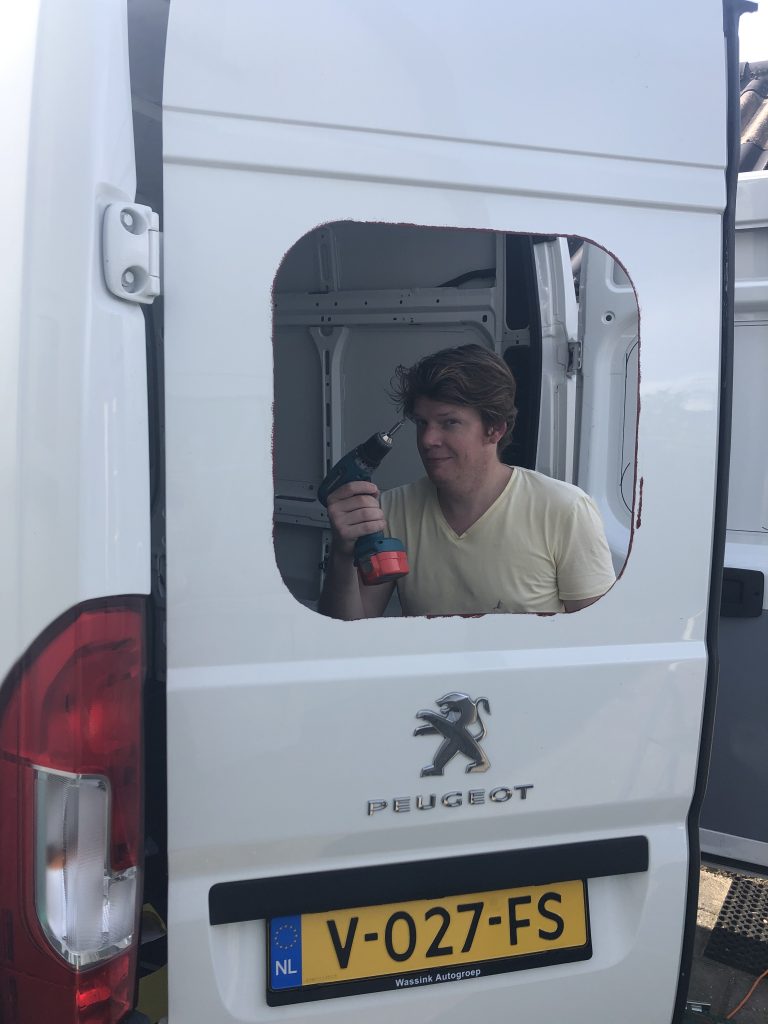
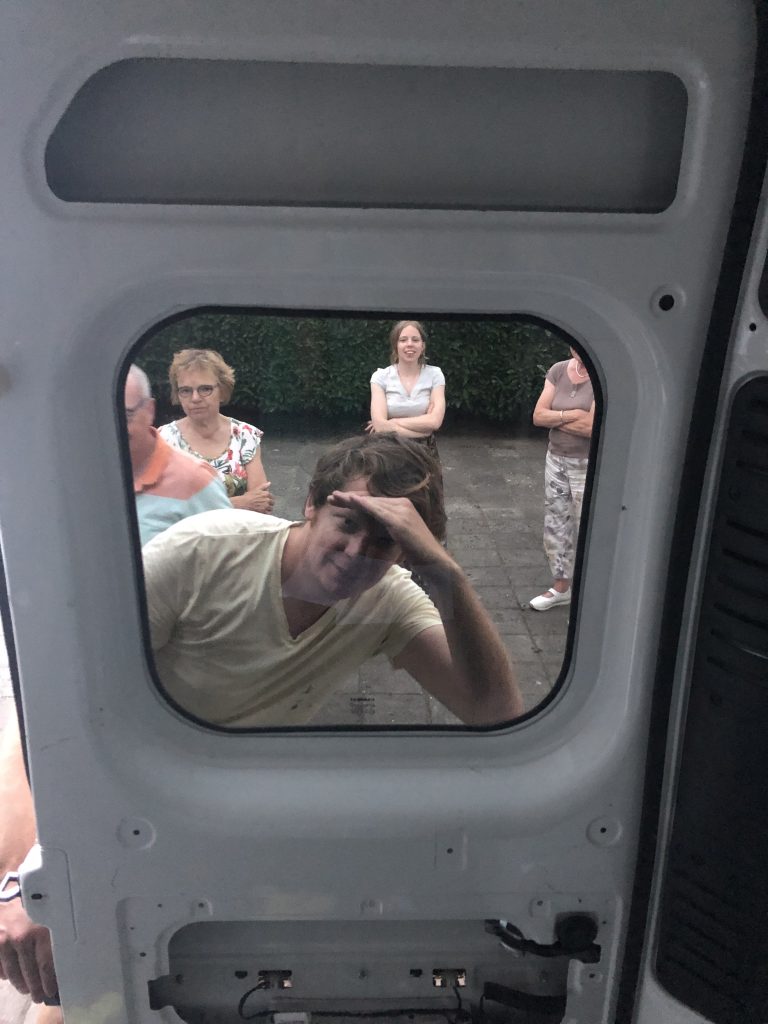
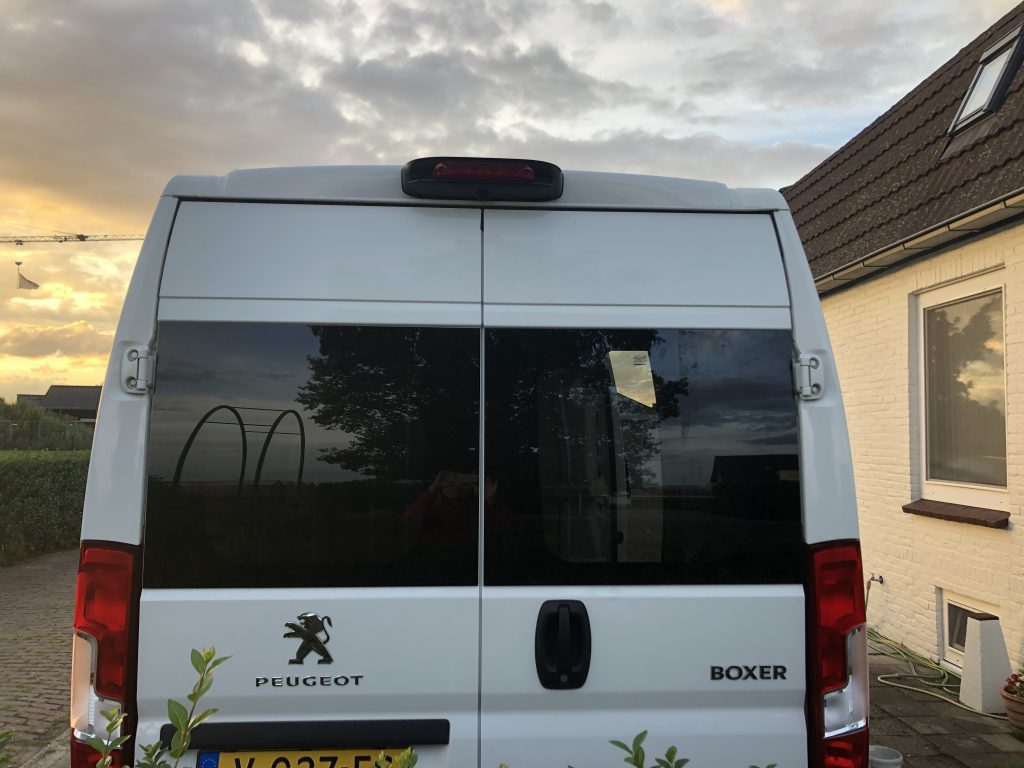
Installing windows: Our van did not yet have any windows and we decided on installing a window on the side and two windows in the back. I thought this was super scary, because you actually have to drill holes and put a saw in your van, but I was impressed by how quickly Hielke finished this task. We did have a setback, as our side window was delivered crooked, which we didn’t find out until Hielke was about to install it. At that point we had a huge hole in the van and we had to wait for several weeks before a new window could be delivered again. We had to cover the hole with plastic as some summer storms were about to pass. Luckily, we received a free new window, but it still was pretty inefficient.
Install solar panels: Hielke installed three solar panels on the roof and put the cable that connects to the battery through the roof. Hielke finished this task in one full day. Again we had a little setback because after installing the solar panels a storm started, so the glue that we used wasn’t able to dry properly. We had to cover the van and luckily everything turned out fine.
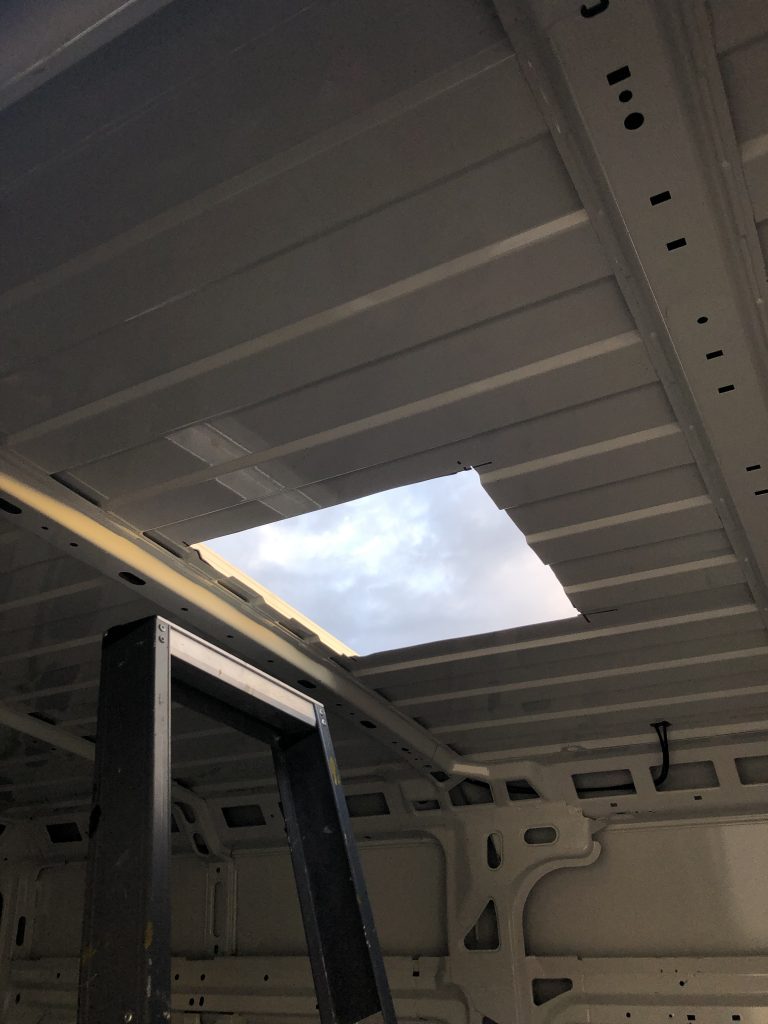
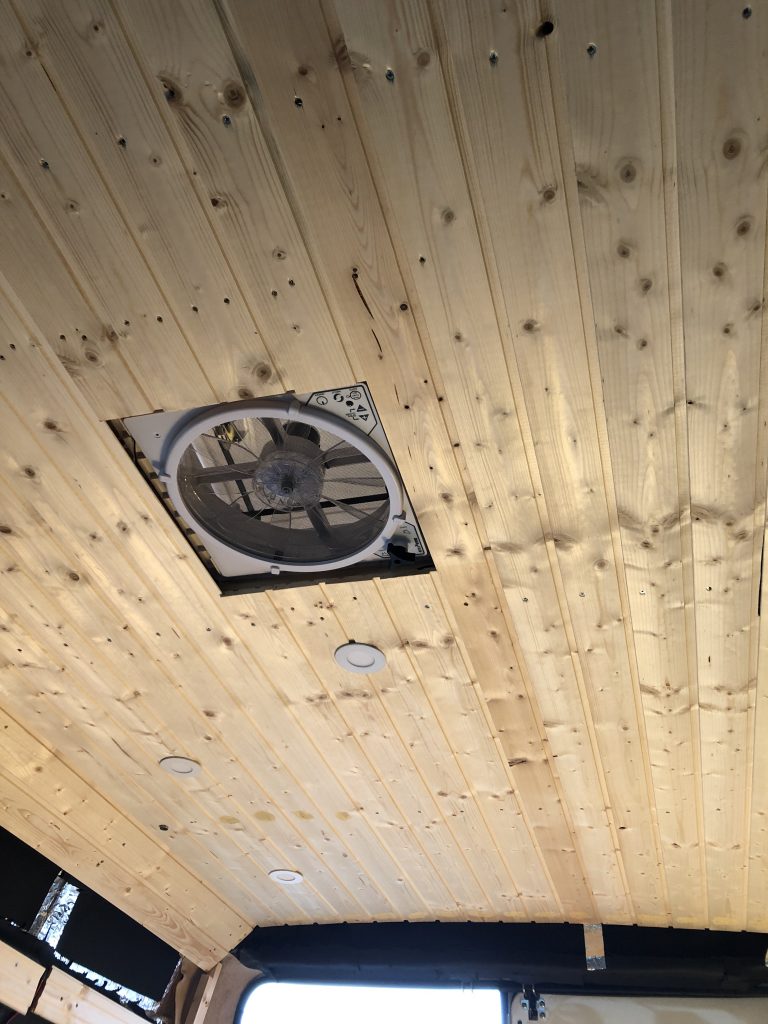
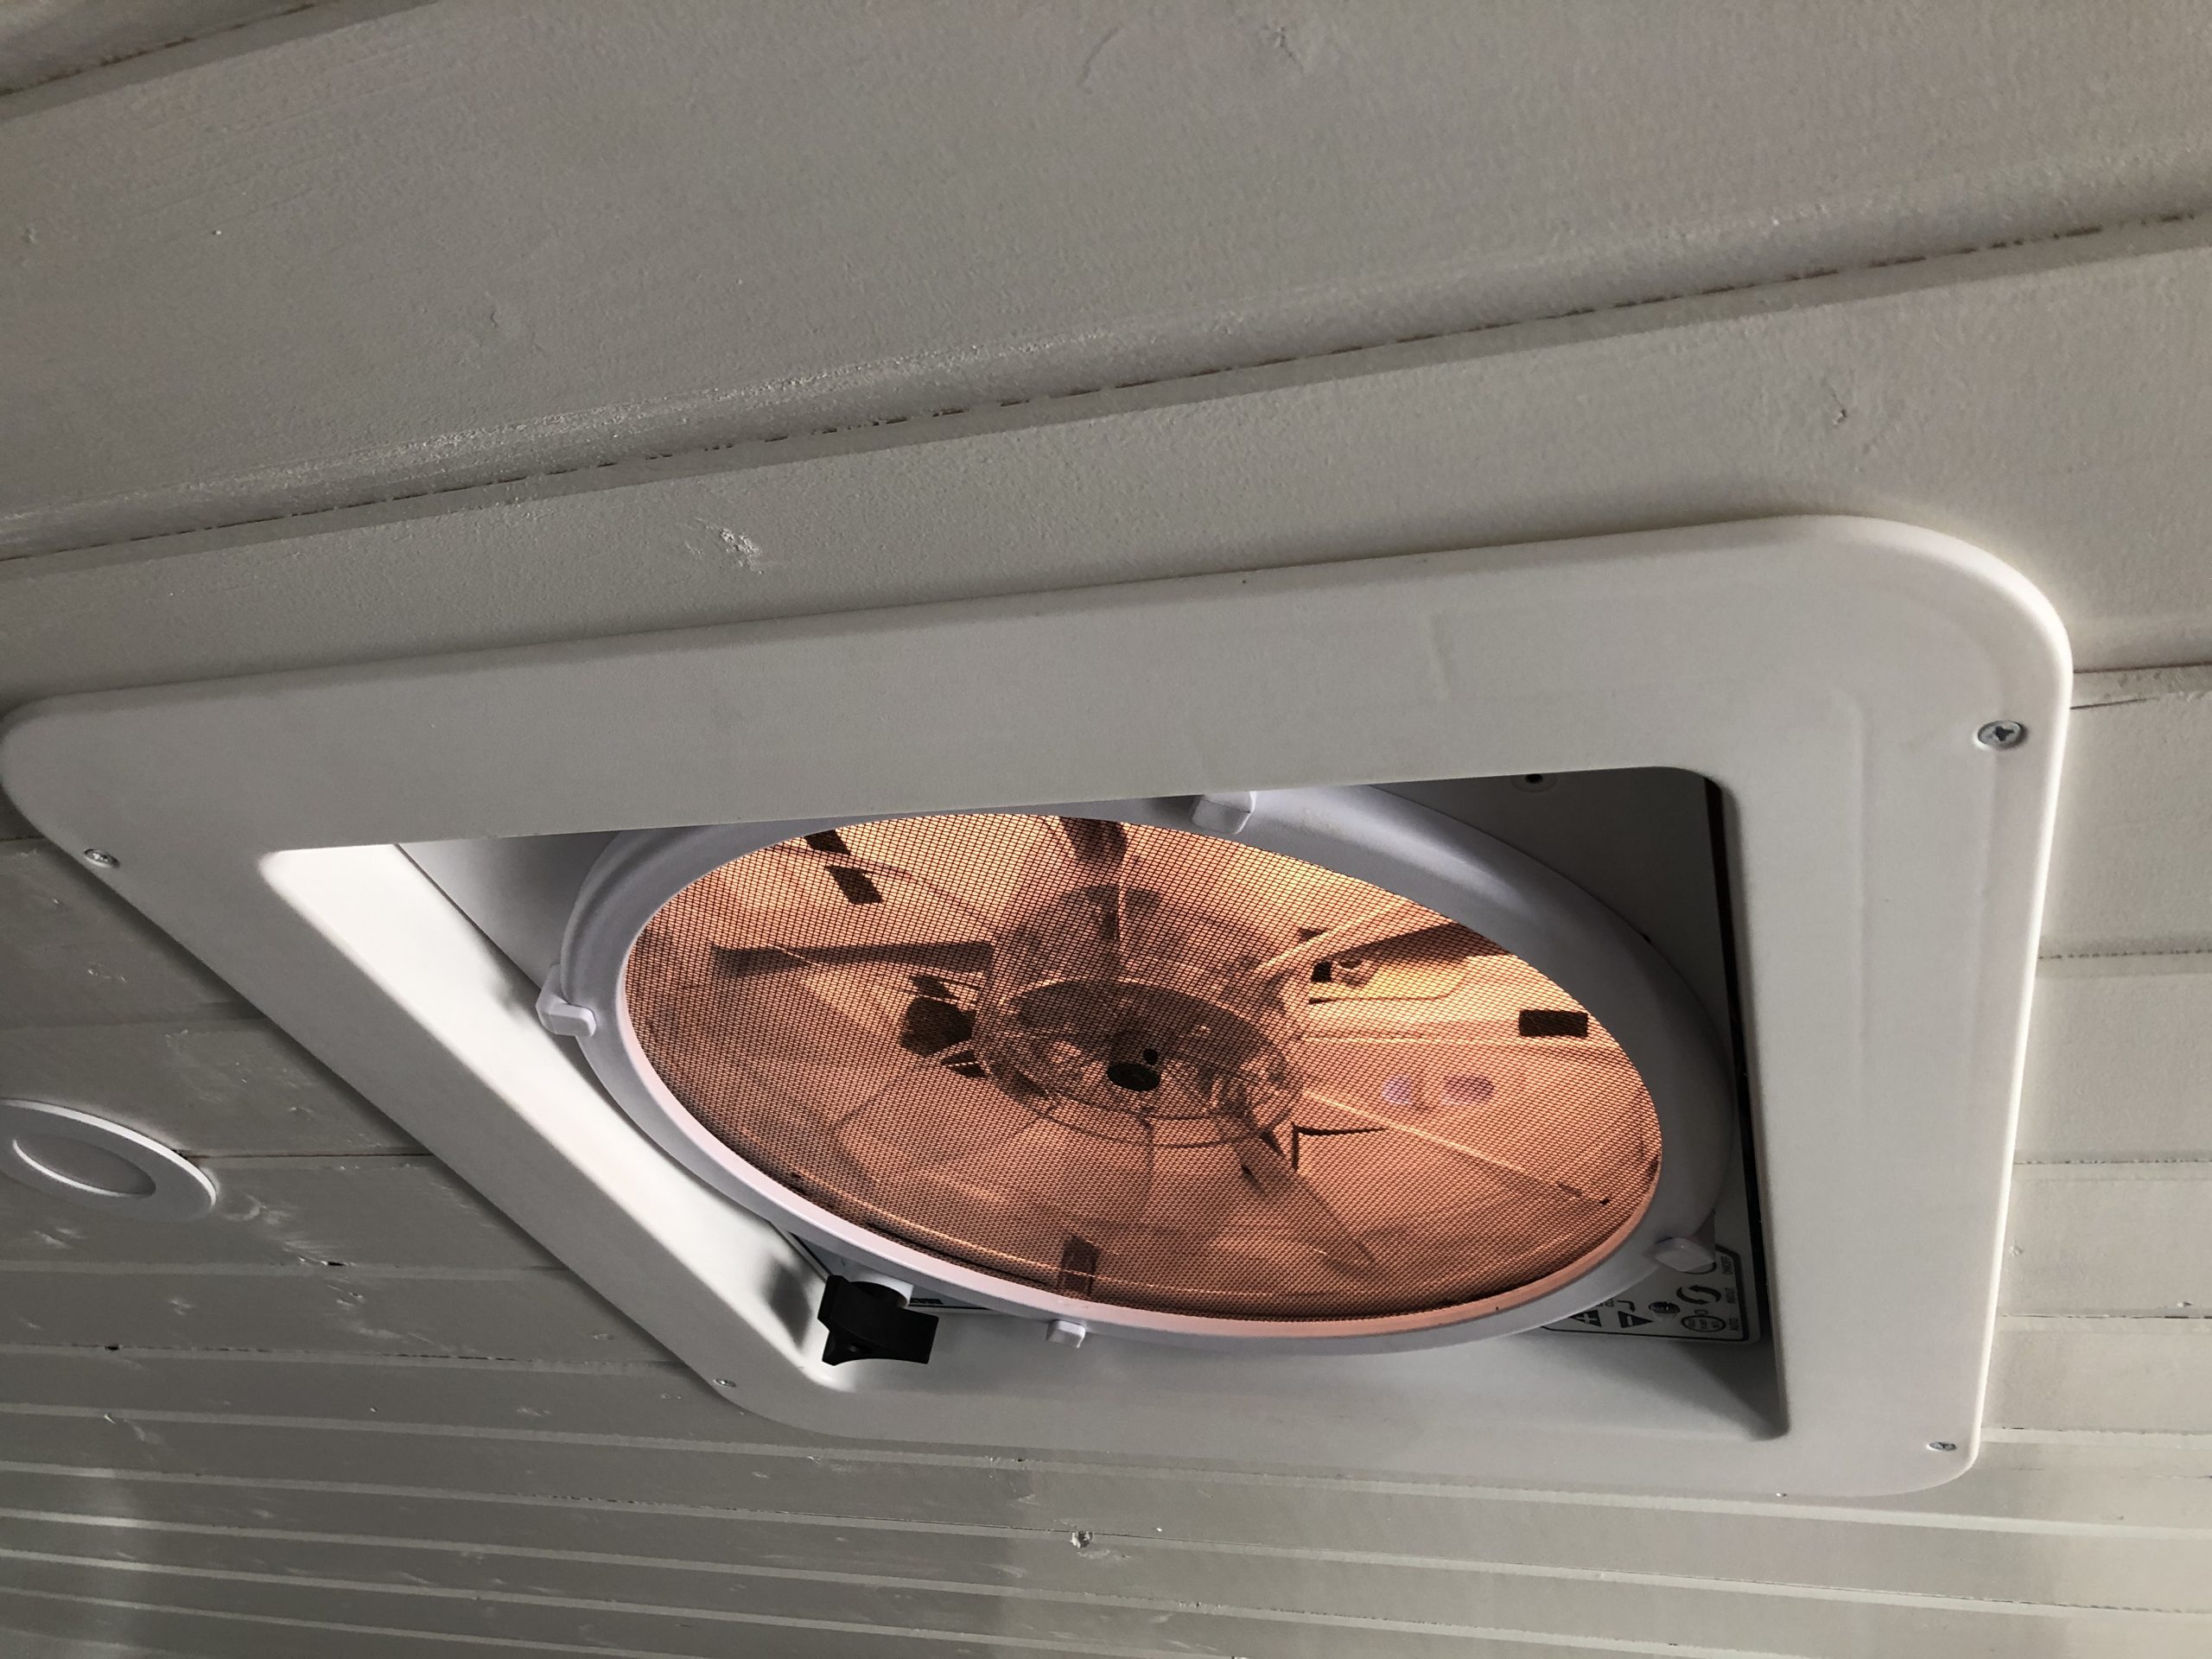
Install the Maxxfan: We chose to install the Maxxfan Deluxe for climate control, so we needed another hole in the roof. Unfortunately we used a wrong calculation and we had to install the fan in the wrong direction, but the supplier explained us that this shouldn’t be an issue when we want to use the fan, fingers crossed!
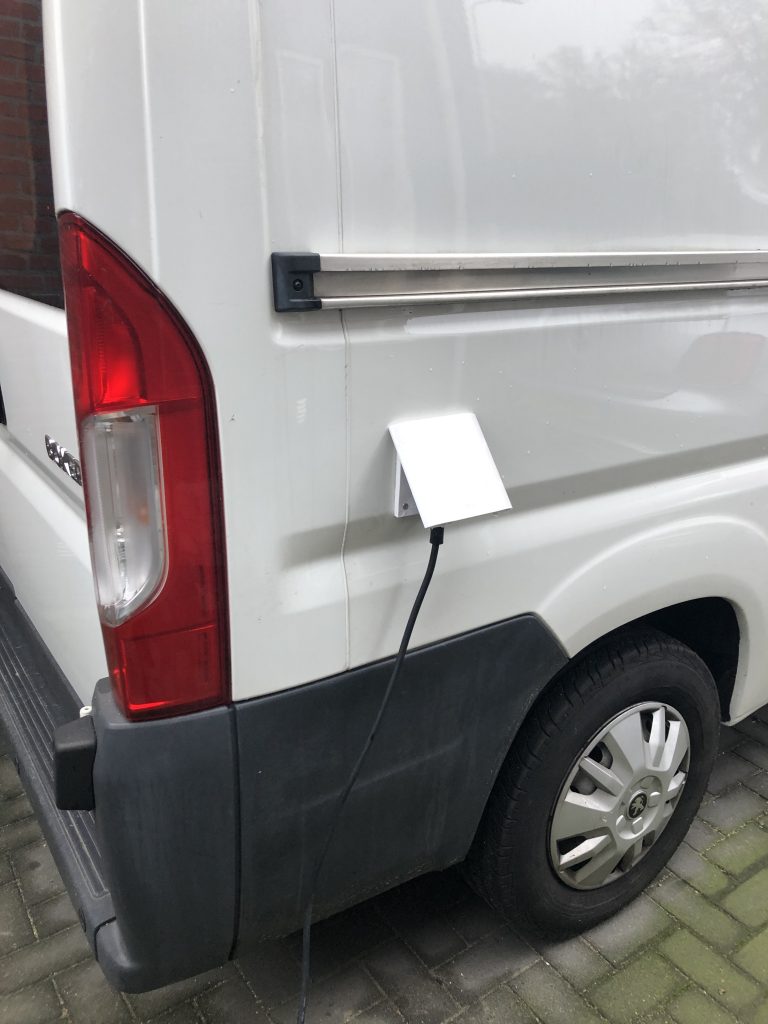
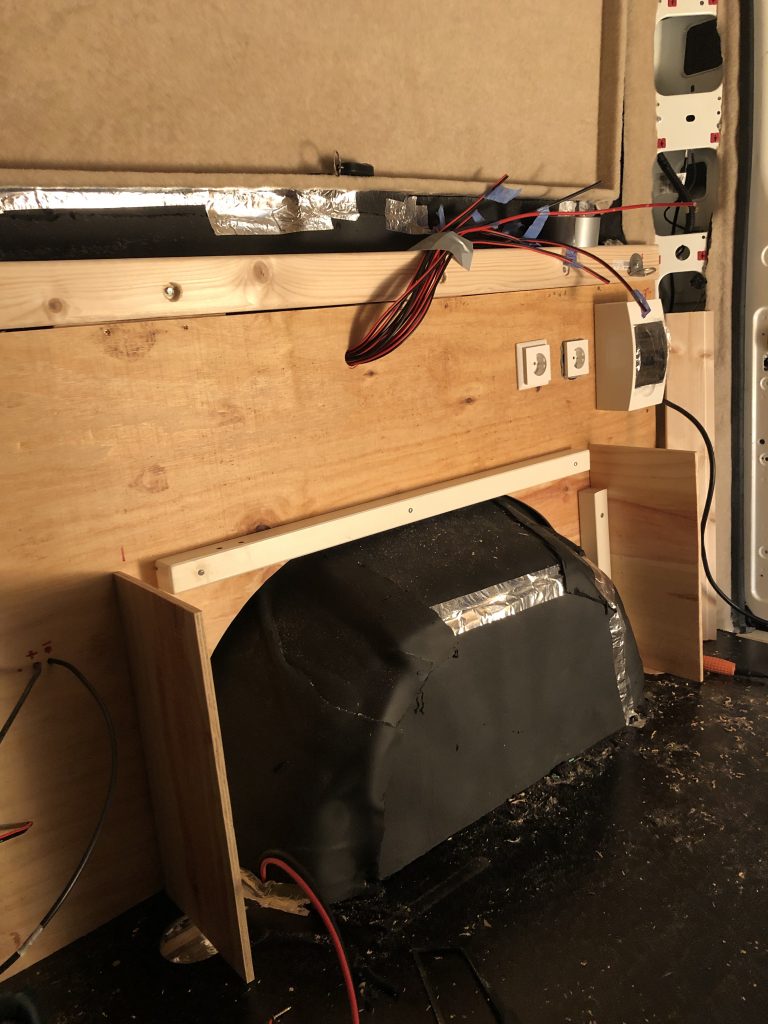
Camping electricity and water tank: We want to be able to plug in our camper van when we are at a camping site and we also want to be able to fill up our clean water tank from the outside, so that meant two extra holes in the van.

Electricity and power
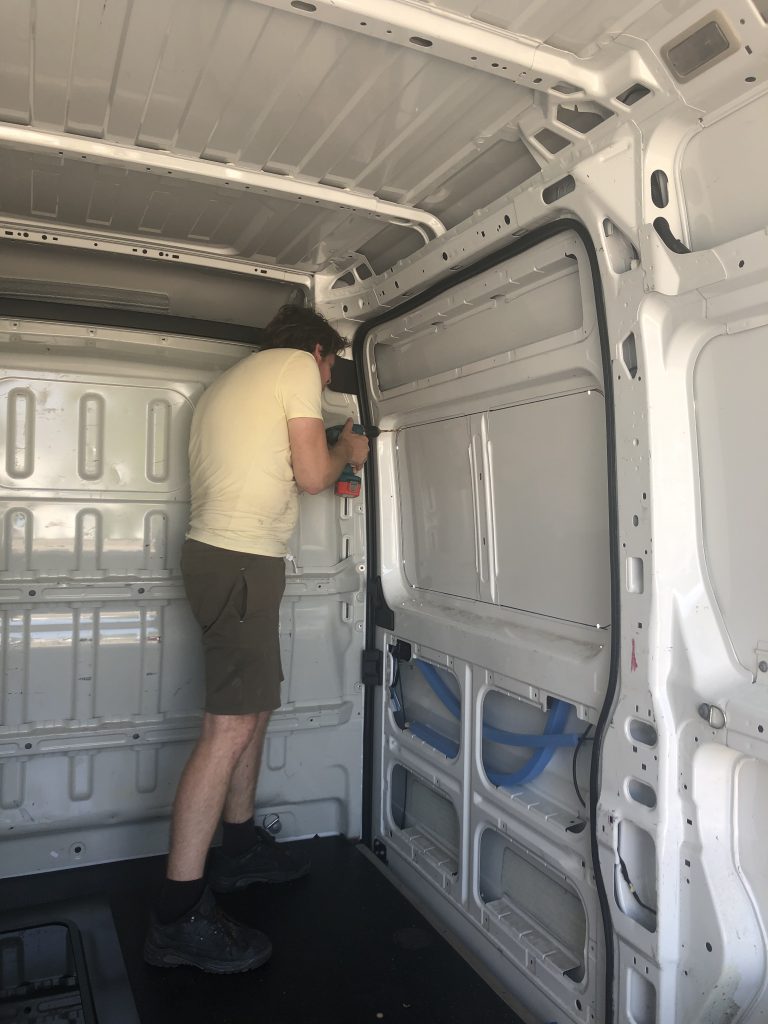
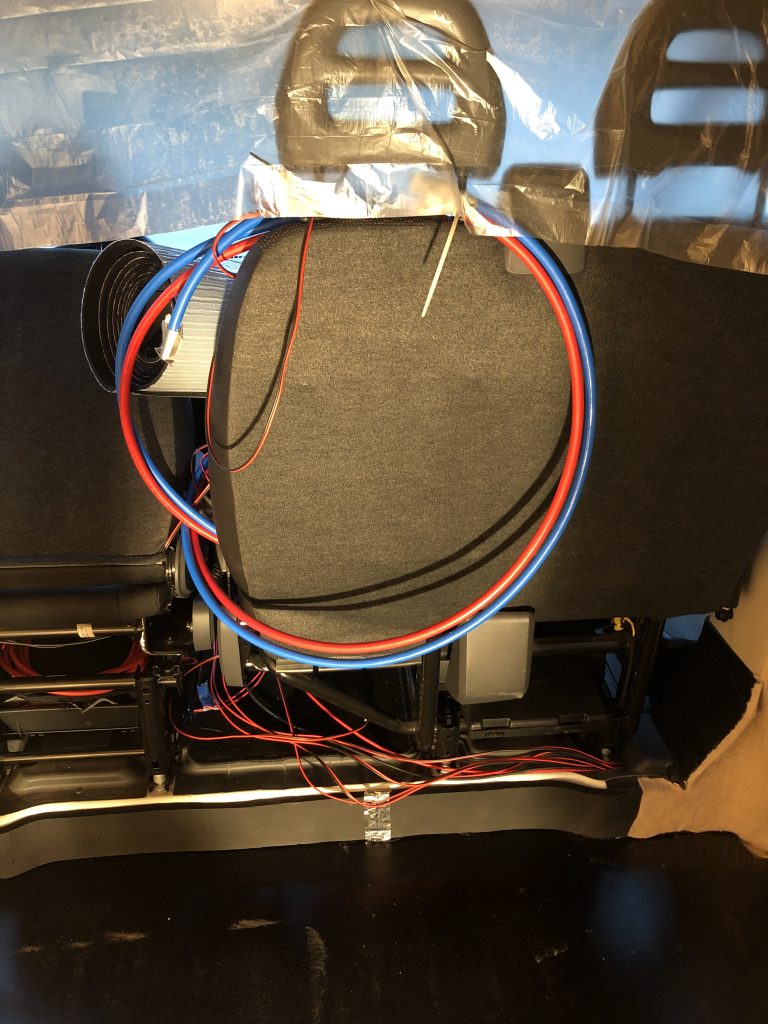
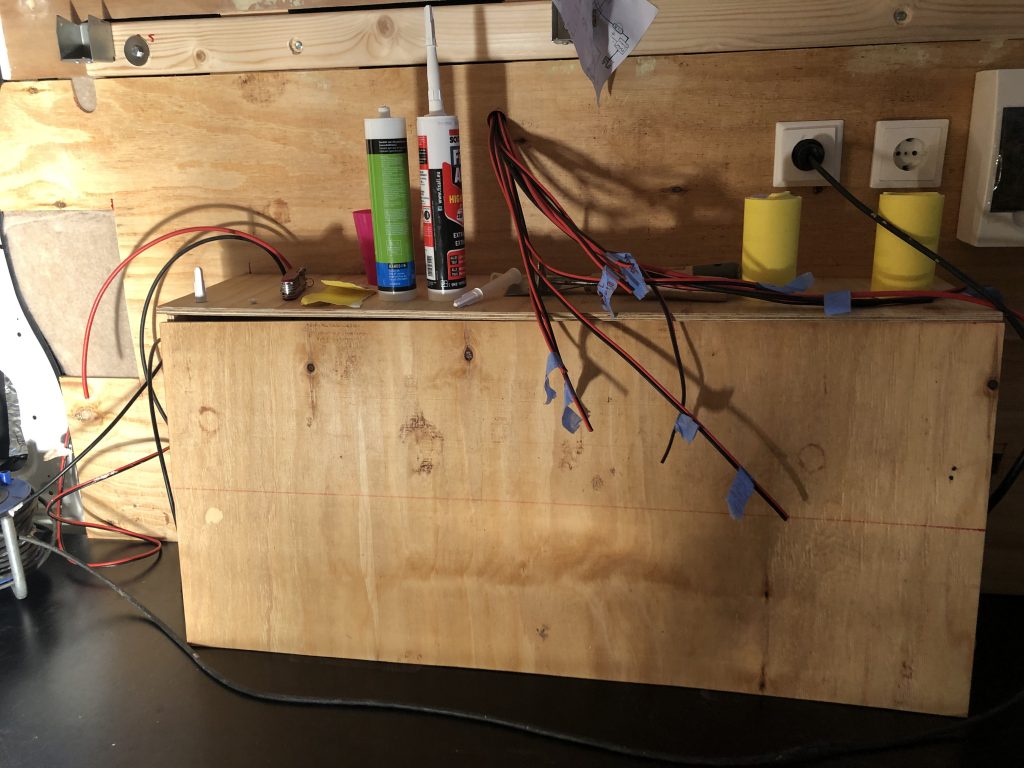
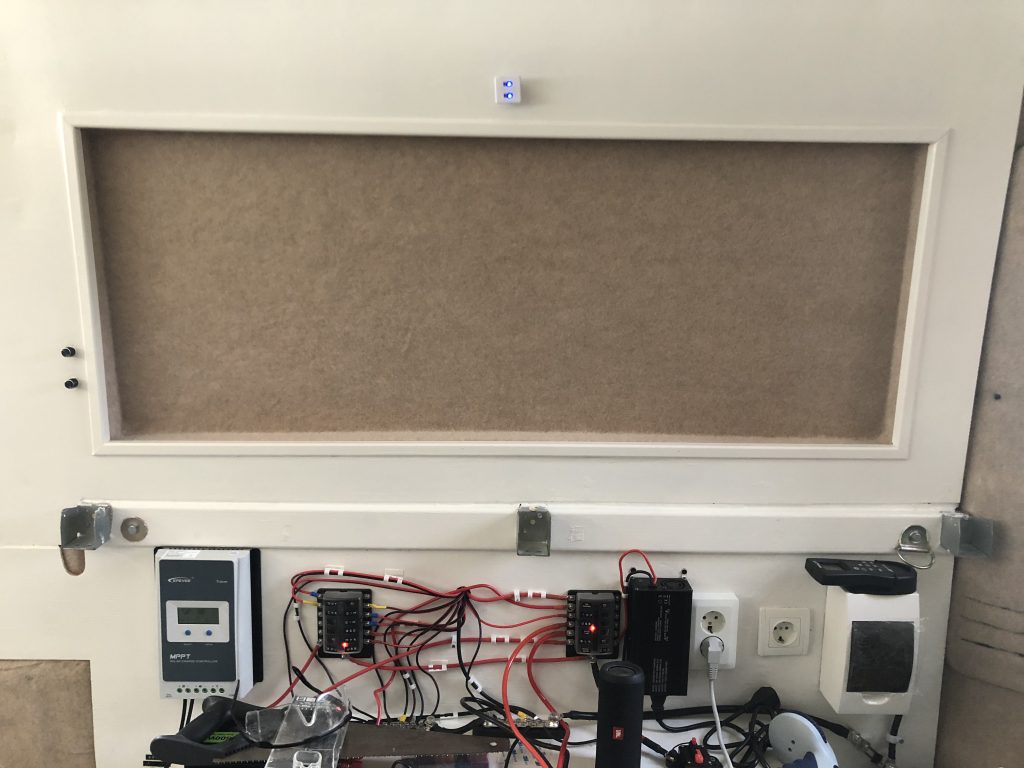
Pulling the electrical wires was the next thing on our to-do-list. Definitely one of the most boring parts of the build, as you don’t see a lot of progress, but also one you do not want to get wrong. If you want your van to have a clean look, you need to pull the wires before you start insulating and adding timber to it, which means you need to know where you want all your electrical devices to be.
Another scary job Hielke did in this phase is pulling a duct from our diesel engine in the direction of our cooktop as we will be cooking on a diesel fueled cooktop. He also pulled a connecting cord from the engine into our van, so the engine can also charge the batteries of our electrical system while we are driving.
Our solar panels are connected to a 12V 100 ampere 1024 wh lithium battery. This was quite an investment but a lithium battery lasts longer than a regular battery, it is relatively lightweight and it can be used fully. Some batteries can only be used half and than you need to recharge them again. Hielke made a calculation of all the power of the appliances in our van and we should be able to stay off grid for a few days with this battery.
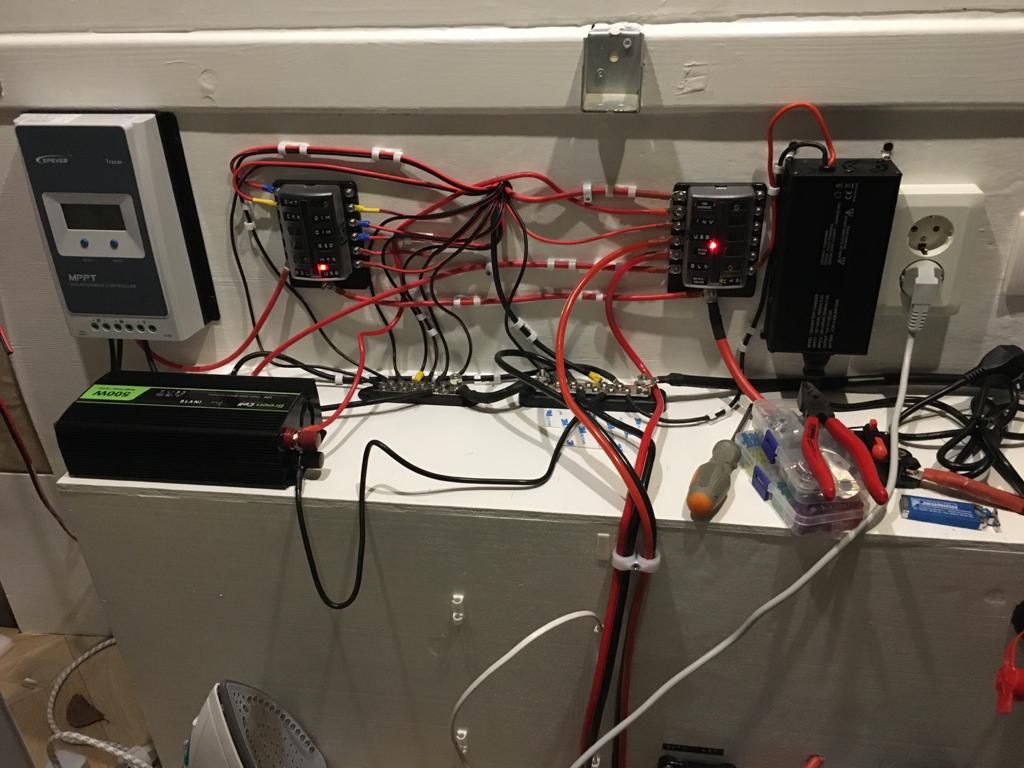
We could not connect most of the electrical wires to the appliances until the insulation was done. The order in which you do the installing is very important and quite complex. Luckily, Hielke connected the cables in the right way and we have power in the van now. When the sun started shining a little bit our solar panels immediately started charging and we were able to turn on the lights in the van for painting.
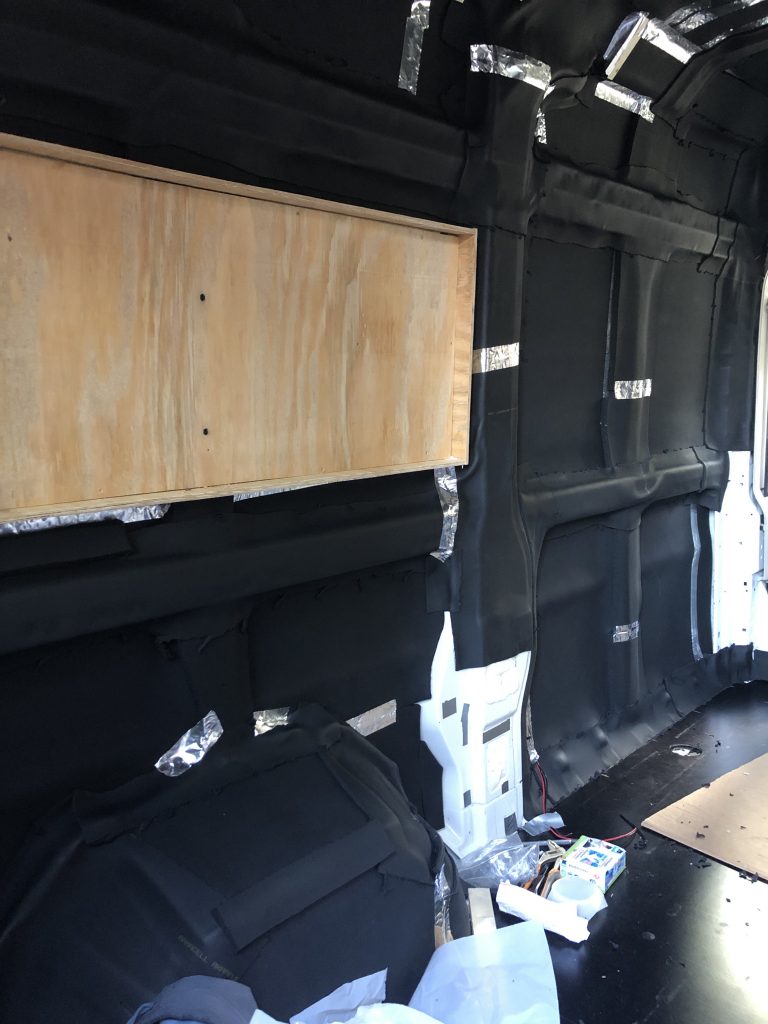
Insulating the van
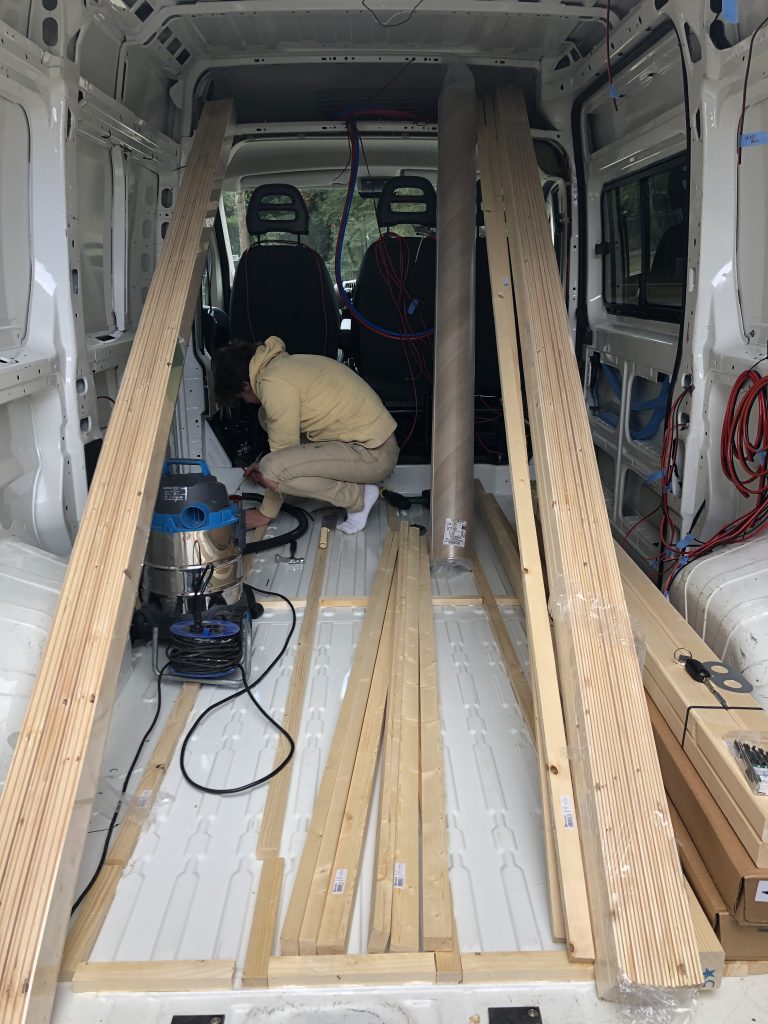
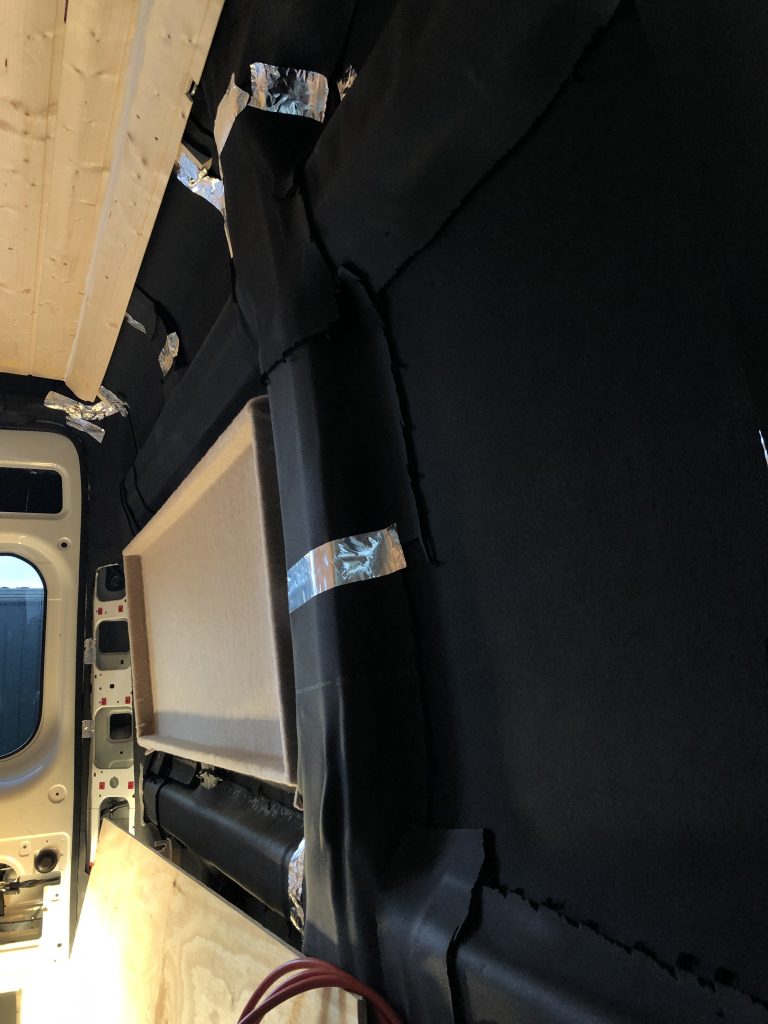
Hielke started insulating the van in October 2020. It is super important to insulate your van well and cover all the metal details, but by insulating you will lose some space in your van. We mainly used Armaflex to insulate the van, this material is super bendy and you can buy it in different levels of thickness depending on the amount of space you have. Hielke started out with insulating the floors, as you can see below he also built a frame so we could put the floor on that. Everything that is covered in Armaflex will be finished with either woodwork or felt. We use felt to cover some corners which are really difficult to cover in woodwork, but that we do want to look properly finished.
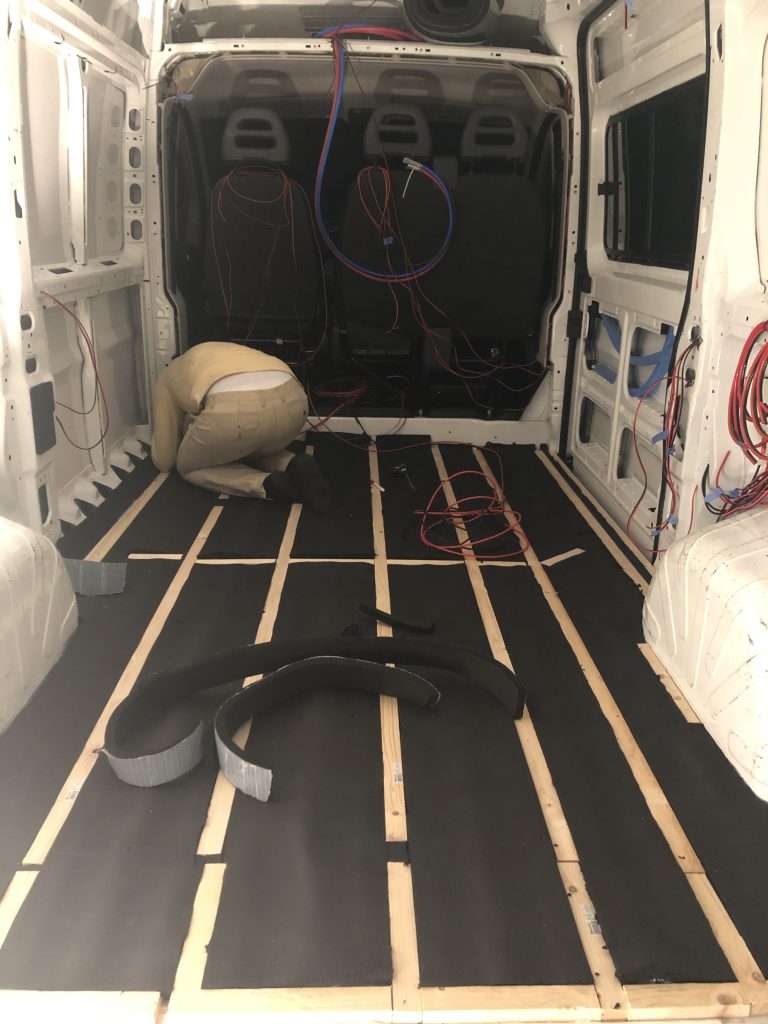
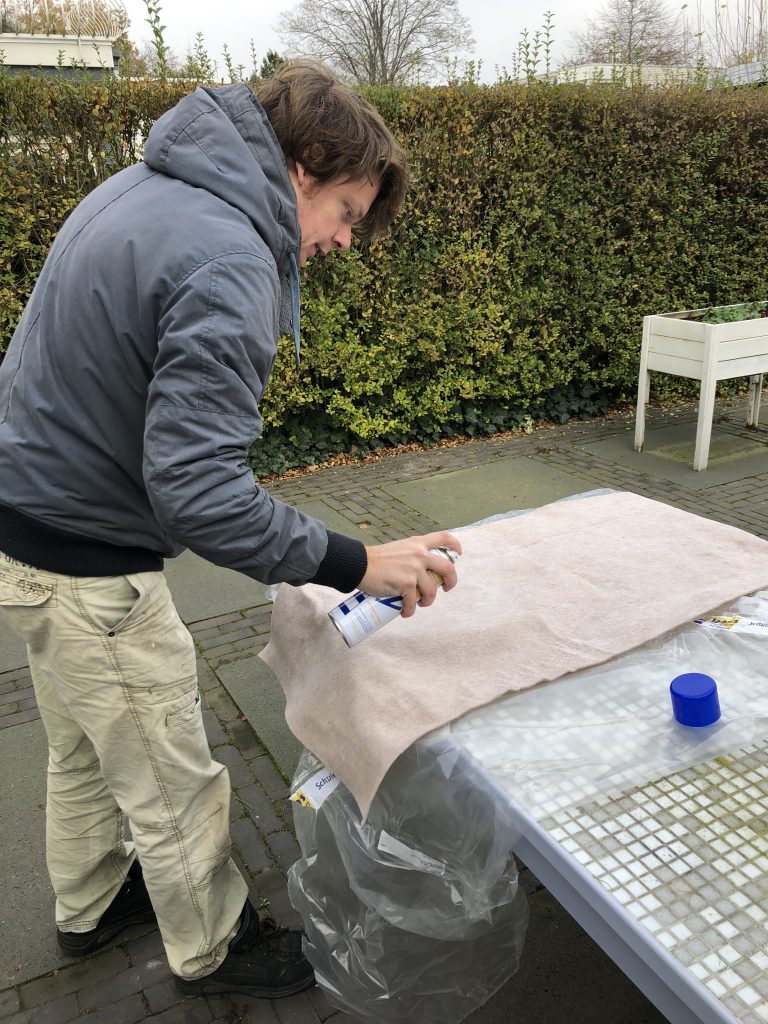
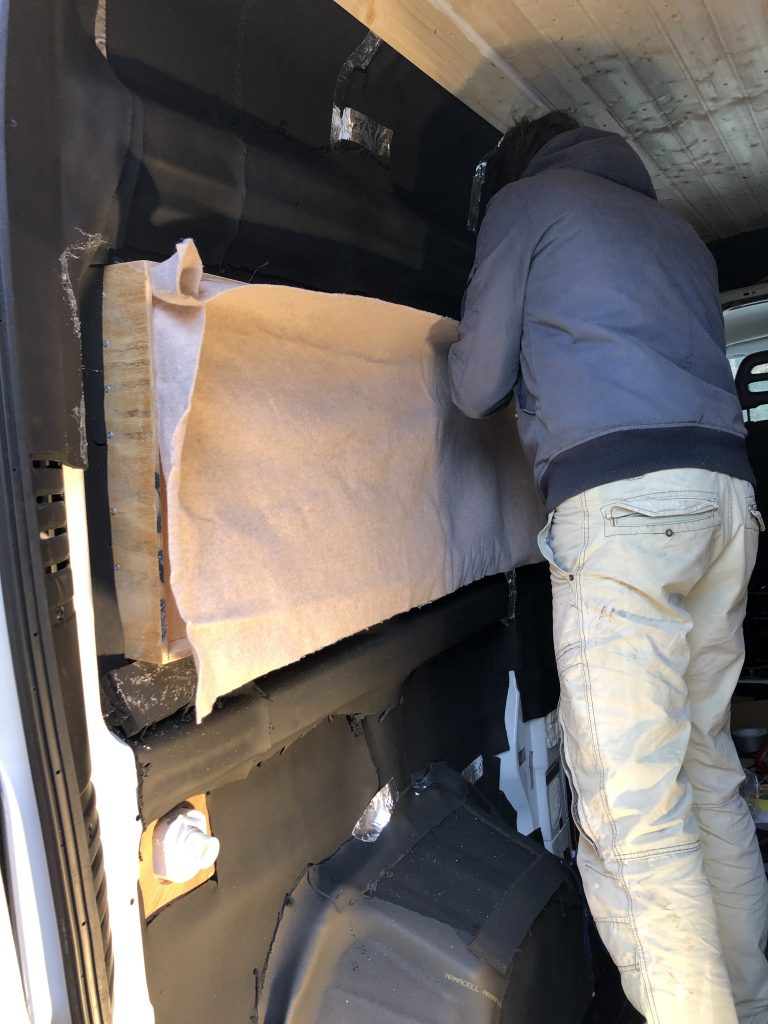
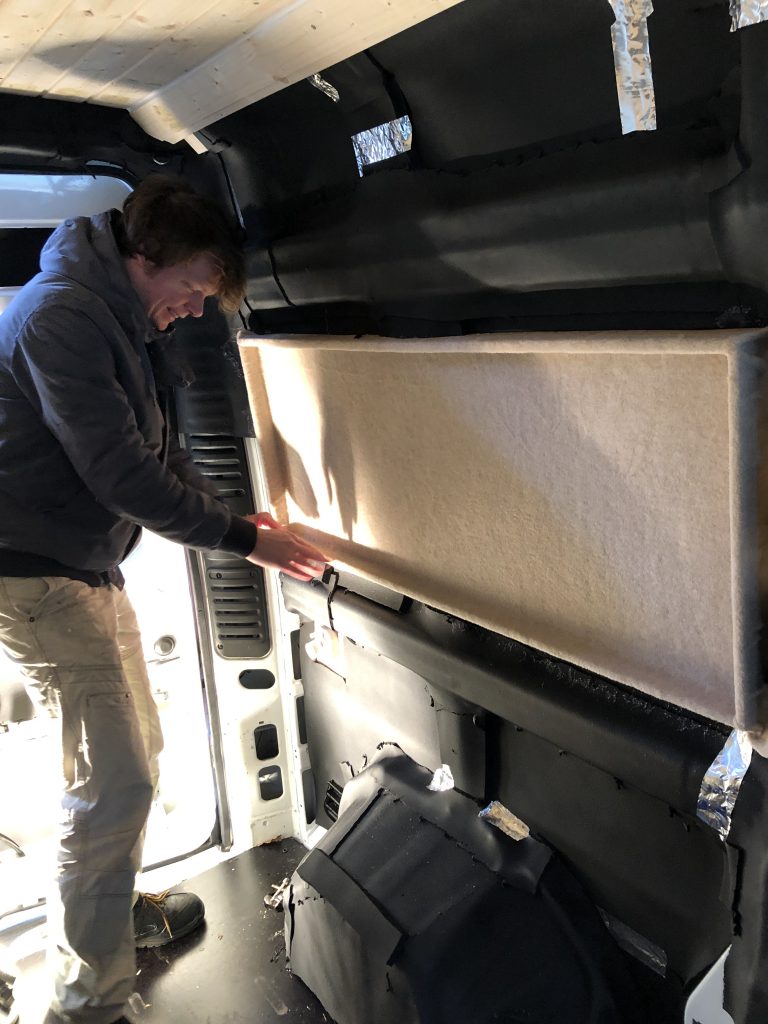
As you can see above Hielke made a wooden frame that he covered in felt. We are both quite tall and we needed as much space as possible for our bed. The felt will serve as a cut out from the timber that will surround the frame, this will give us an extra 10 centimeters of space for our legs, while the area still is insulated.
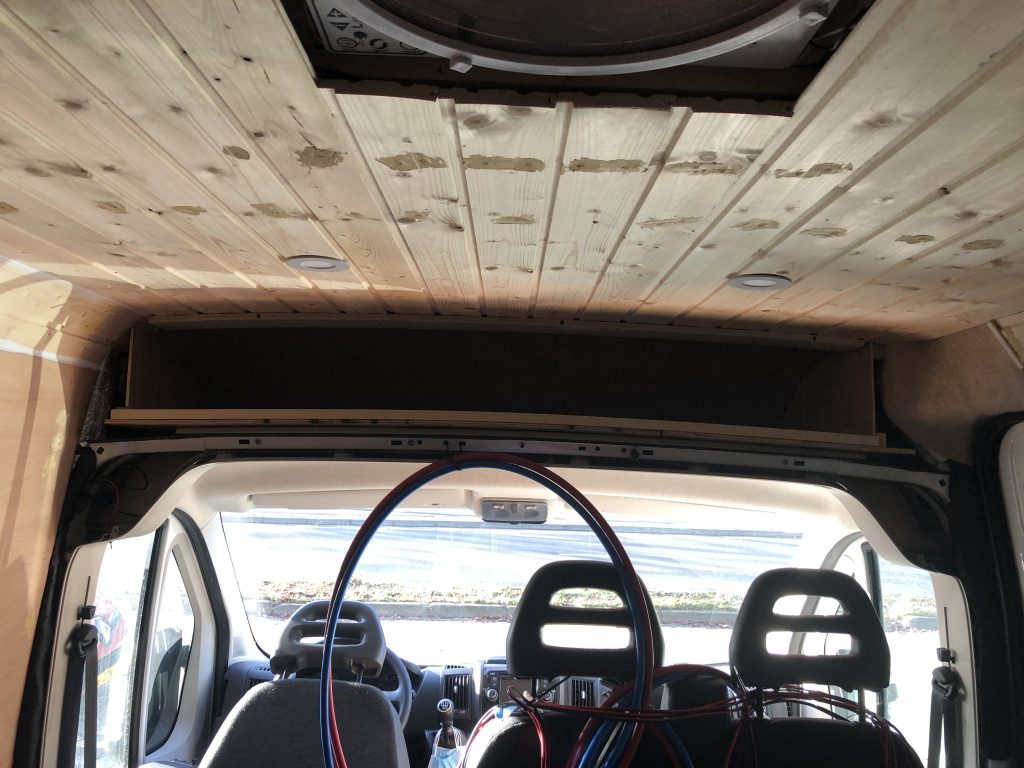
The ceiling
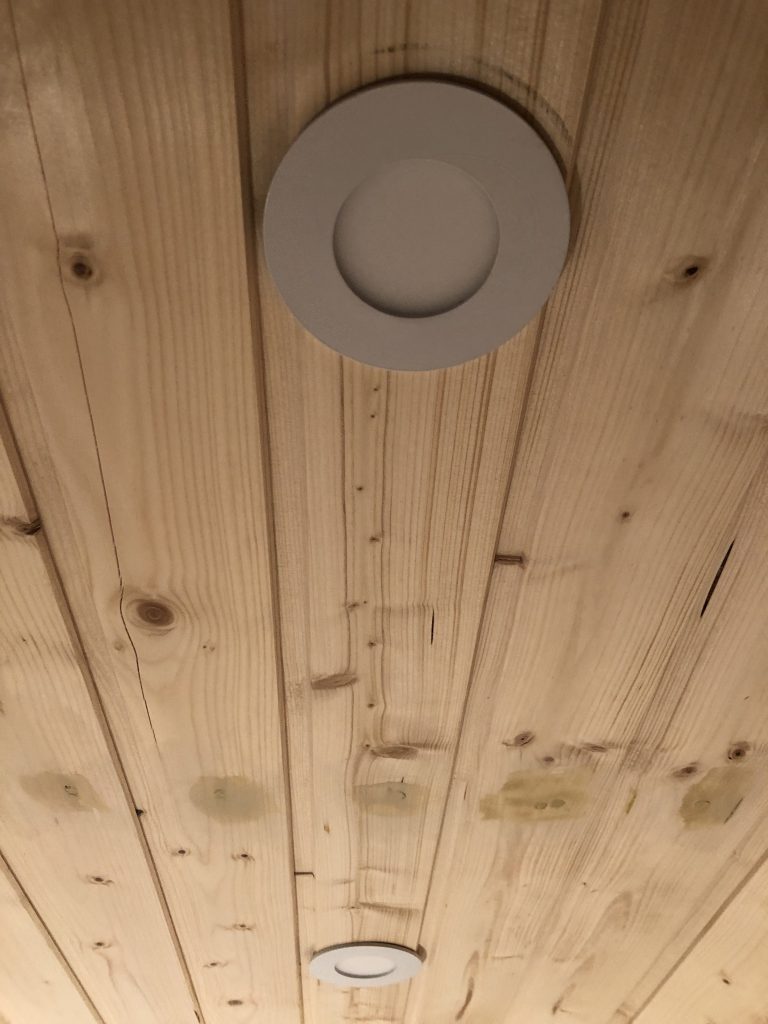
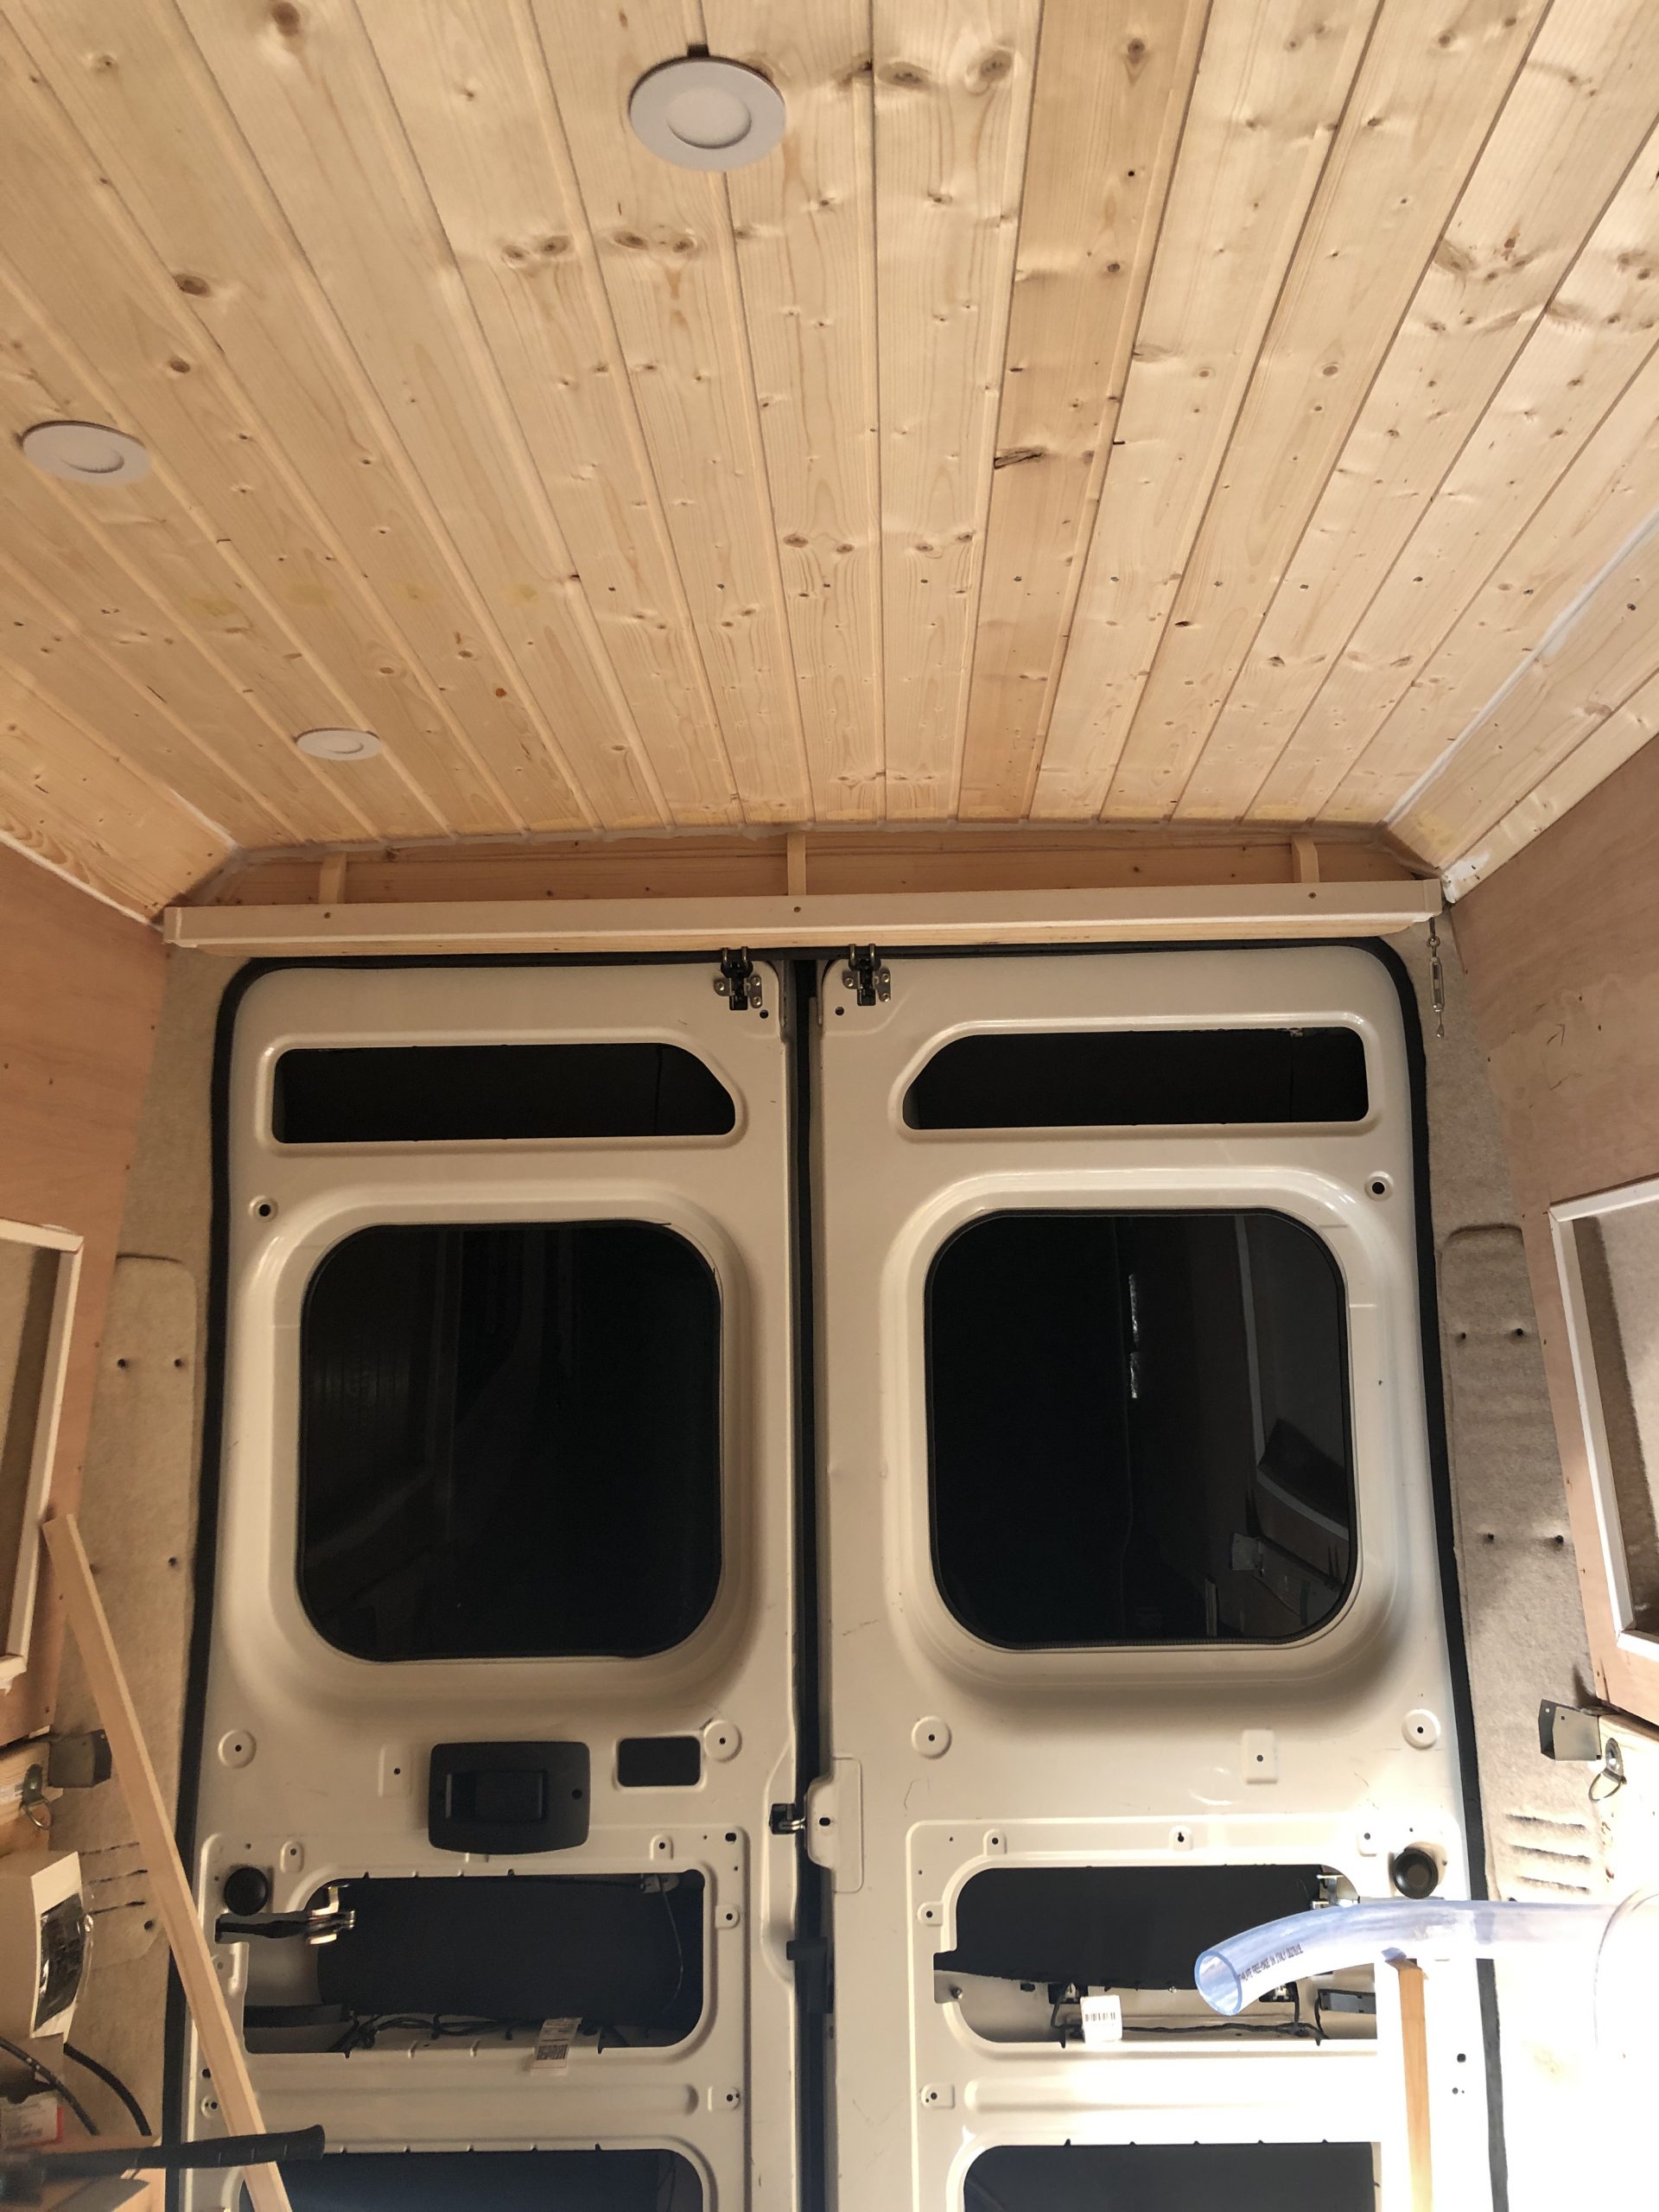
Hielke covered our ceiling with shiplap wood after he was done insulating. He also had to create a frame to which he could screw the ceiling. The number of screws that you use when building a van is absolutely insane, I cannot even guess how many screws we have used. I was surprised at how quickly Hielke installed the ceiling, but of course we still had many hours of wood filling, sanding and painting to do!
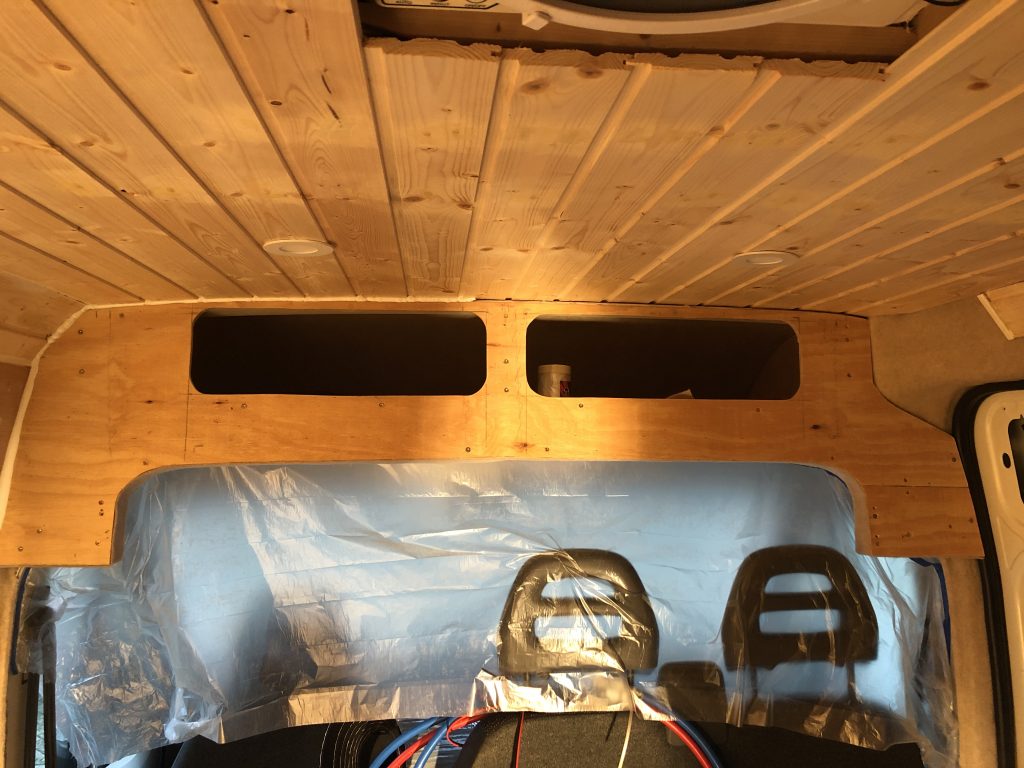
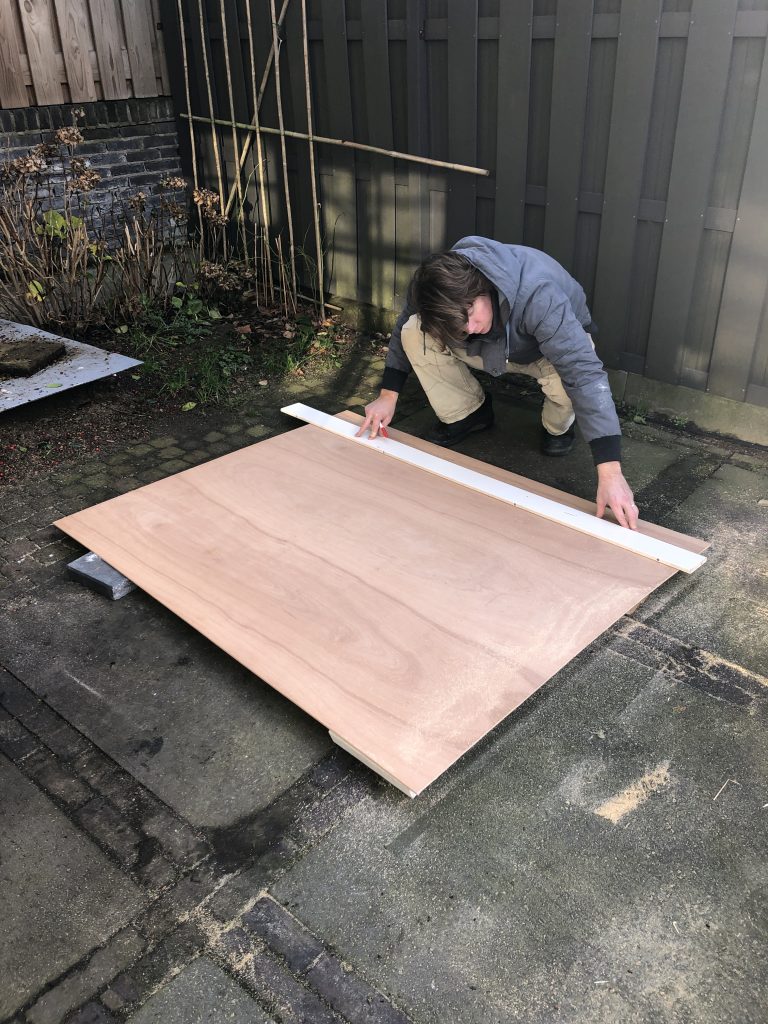
The woodwork
This was one of the hardest things to do, as you continuously have to make a tradeoff between taking the easy route but sacrificing space or creating the perfect custom option to maximize space. On the pictures below you can see an example of how Hielke finished the compartment above the driving cabin, before any doors were put in.
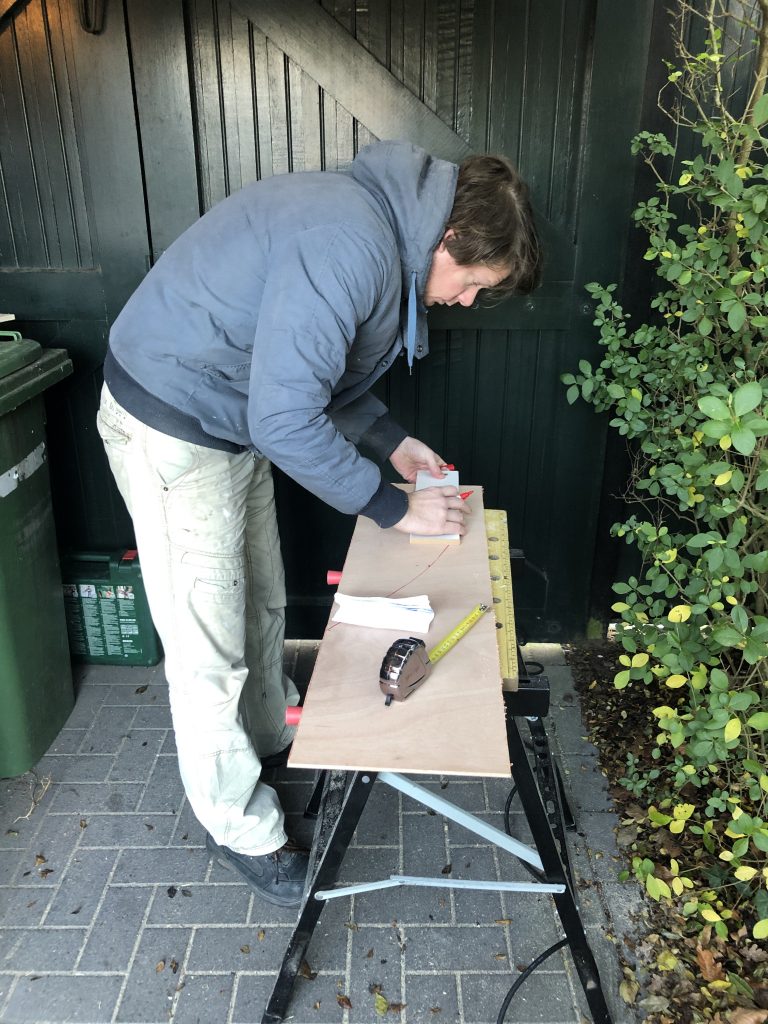
A complicating factor is that we don’t have a warehouse in which we can do the renovations, so most of it was done outside in the middle of winter. As I am writing this we hadn’t had any complaints yet by our neighbors, but I wouldn’t blame them if they did. Luckily my sister had an electrical heater that we were able to borrow, which we put in the van when necessary.
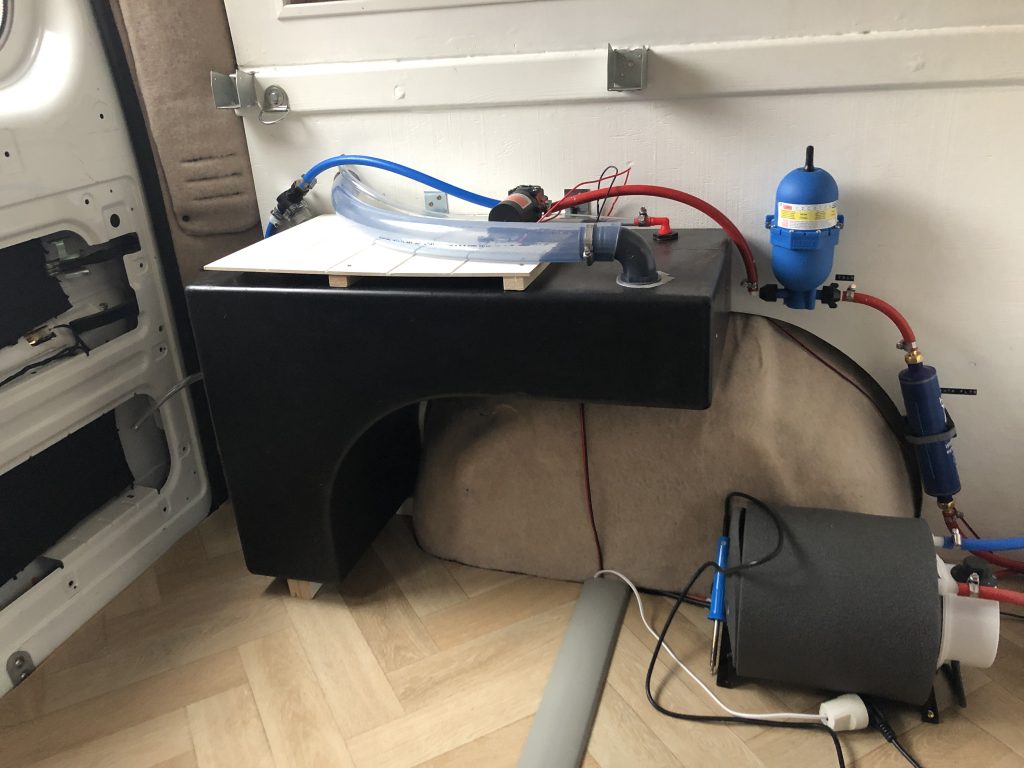
Water
Building a van is like building a tiny home, so Hielke also had to install a water tank with piping for our van. We decided upon a 60L tank that could be installed on top of the wheel arch to save space. On one hand you want a tank as big as possible, but on the other hand it does take up a lot of space and it is really heavy. When building a van you continuously have to make these trade offs. We also bought a boiler to have hot water in the van. This particularly seems handy when we want to give Huug a bath, but we can also use it to wash our hair. Installing the piping was pretty difficult, we only have a few kitchen cabinets and in one kitchen cabinet we had to fit the sink and our fridge. Standard piping would be too big to fit in the cabinet so Hielke had to buy a lot of components separately from the sink, which led to a lot of measuring and adjusting. Hielke installed the grey water (dirty water) tank to the bottom of the van, which resulted in the last picture.